Hello, dear friends and welcome back. Today, we’re adding a dash of pizzazz to our letters and cards by crafting custom envelope liners. Not only do they add a burst of personality, but they also elevate the entire experience of opening a letter. Let’s dive into this delightful DIY project and turn your envelopes into little works of art.
Why Envelope Liners?
Envelope liners are like the stylish undergarments of the stationery world—subtle, yet making everything look and feel a little more special. They can add a pop of color, a hint of luxury, and a touch of thoughtfulness that shows you went the extra mile.
What You’ll Need
Before we start, let’s gather our supplies:
- Envelopes: any size and color:
- Decorative paper: wrapping paper, scrapbook paper, or even pages from an old book
- Stencil: The Holly Heide stencil is perfect in all our envelopes, or see below.
- Scissors
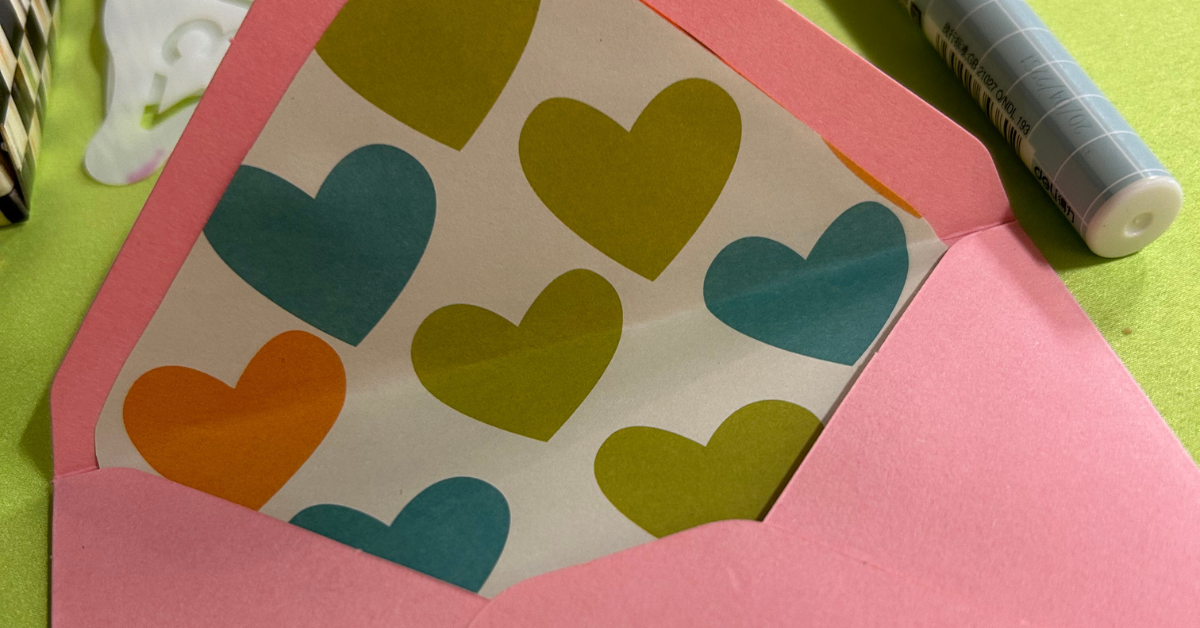
- Adhesive: double-sided tape or glue pen
- Gel Pens to trace
Step-by-Step Guide to Crafting Custom Envelope Liners
1. Make Your Stencil
If you are going to go it alone and make your own stencil, Here’s how to create one:
- Choose an Envelope: Select an envelope you plan to line and open it up, laying it flat on your work surface.
- Trace the Shape: Place a piece of sturdy paper or cardstock underneath your envelope. Using a pencil, trace around the envelope.
- Adjust for Fit: Cut about 1/4 inch off each side of the traced shape to ensure the liner fits comfortably inside the envelope. Additionally, trim about 1/2 inch from the bottom. At this point, you also need to decide if you are going to use a wax seal or sticker to close the envelope. If the answer is yes, make your stencil as #3 describes. If the answer is no, drop your stencil to show the sticky line you will use to close your envelope.
- Mark the Fold: Place the trimmed stencil inside the envelope and fold the flap down. Mark where the fold line is on the stencil. This will help you align your decorative paper perfectly.
2. Choose Your Decorative Paper
This is where your creativity shines. Select a paper that complements the occasion or the recipient. Floral patterns, vintage maps, or even a whimsical design—whatever speaks to your artistic soul.
3. Trace and Cut the Liner
- Trace the Stencil: Place your stencil on the back of the decorative paper and trace around it with a pencil.
- Cut Out the Liner: Carefully cut along the traced lines. If you’re using a craft knife, place a cutting mat underneath to protect your surface.
4. Fit and Fold
- Insert the Liner: Slide the cut-out liner into the envelope. Align it with the top fold of the envelope flap.
- Fold to Fit: Fold the envelope flap down and crease the liner so it fits perfectly inside the flap. This step ensures your liner looks polished and professional.
5. Secure the Liner
- Apply Adhesive: Lift the liner and apply a thin strip of double-sided tape or a light layer of glue along the top edge and a bit on the sides. Avoid using too much adhesive, as you don’t want it to wrinkle the paper.
- Press Firmly: Press the liner back down, ensuring it sticks smoothly without any bubbles or creases.
Tips for a Perfect Liner
- Paper Thickness: Use lightweight paper for liners to avoid adding bulk to your envelope.
- Color Coordination: Choose colors and patterns that complement the envelope and the messaging inside the letter.
- Experiment with Shapes: Try different stencil shapes for various envelope sizes and styles.
Personalize Your Liner
For an extra touch of personalization, write a little note or draw a small doodle on the liner before inserting it. This surprise element can delight the recipient and make your correspondence truly unique.
Conclusion
Crafting custom envelope liners is a delightful way to add a personal, artistic touch to your letters. It’s a simple, enjoyable craft that makes your correspondence stand out and shows your recipient that they’re worth the extra effort. So, gather your supplies, let your imagination run wild, and transform those plain envelopes into masterpieces.
